Click on any of the photos below to see the full size image.

Warning, they are fairly large to download. Use your browser's back button to return here.


 image

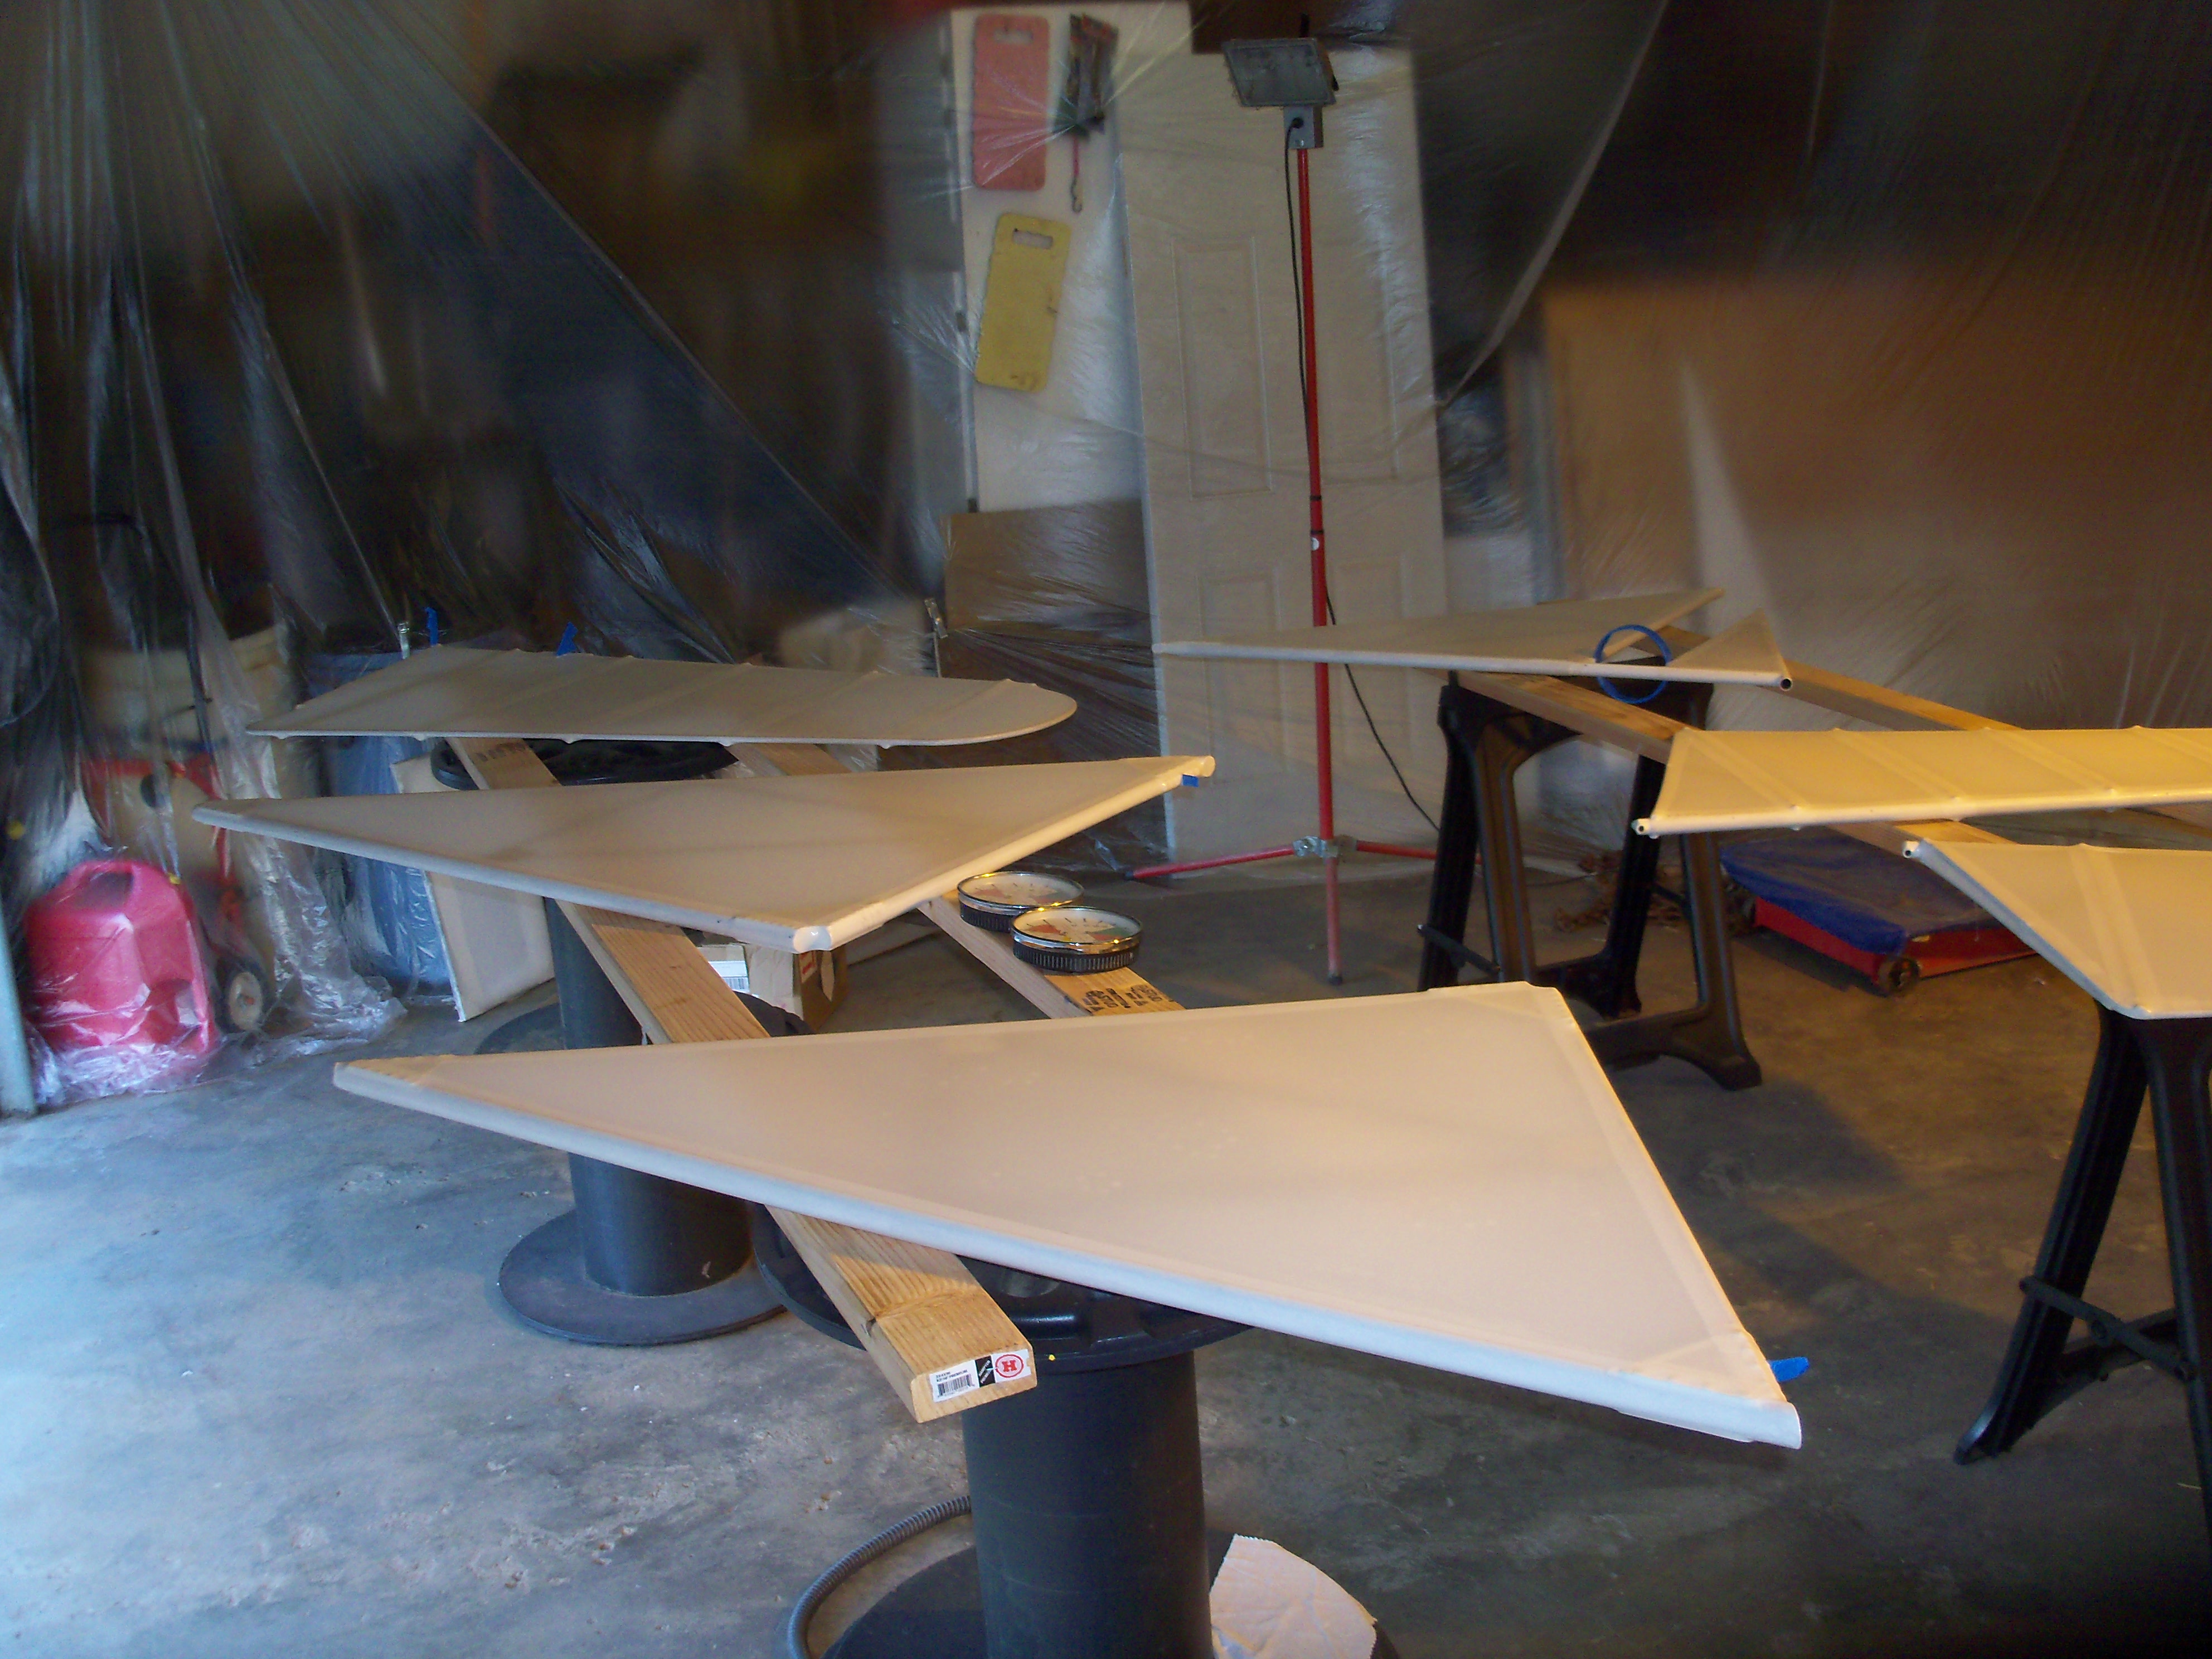
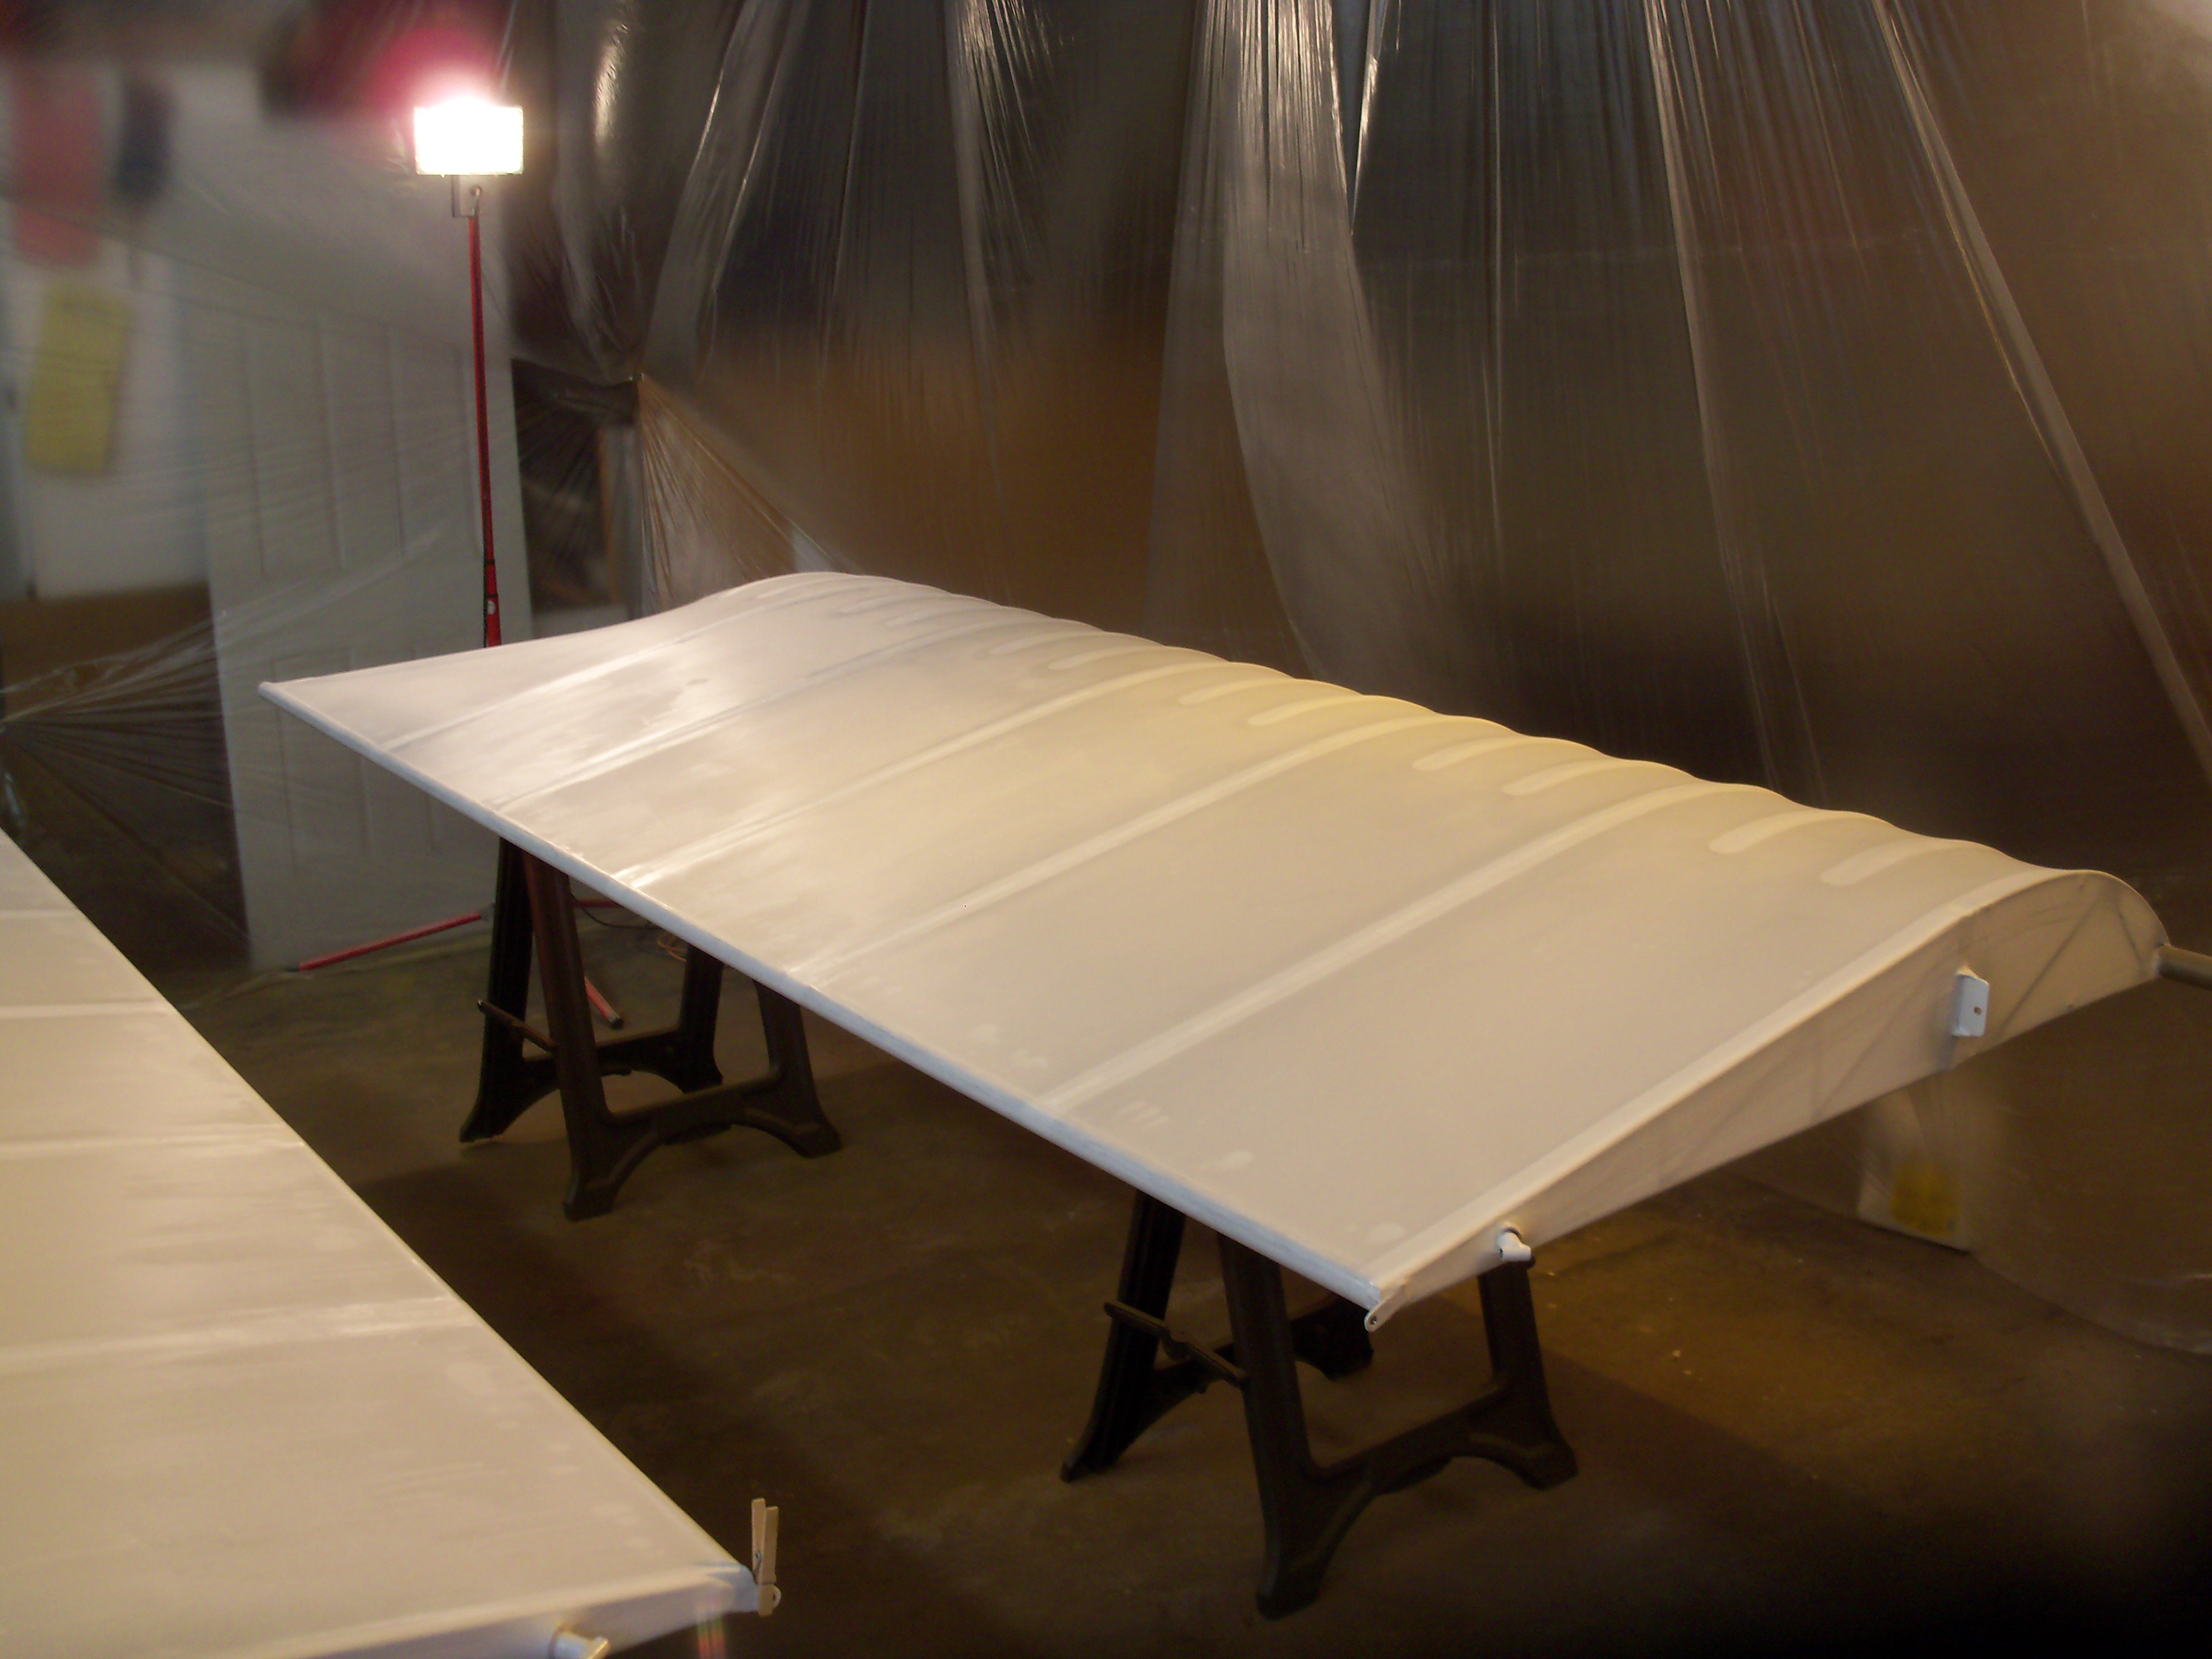
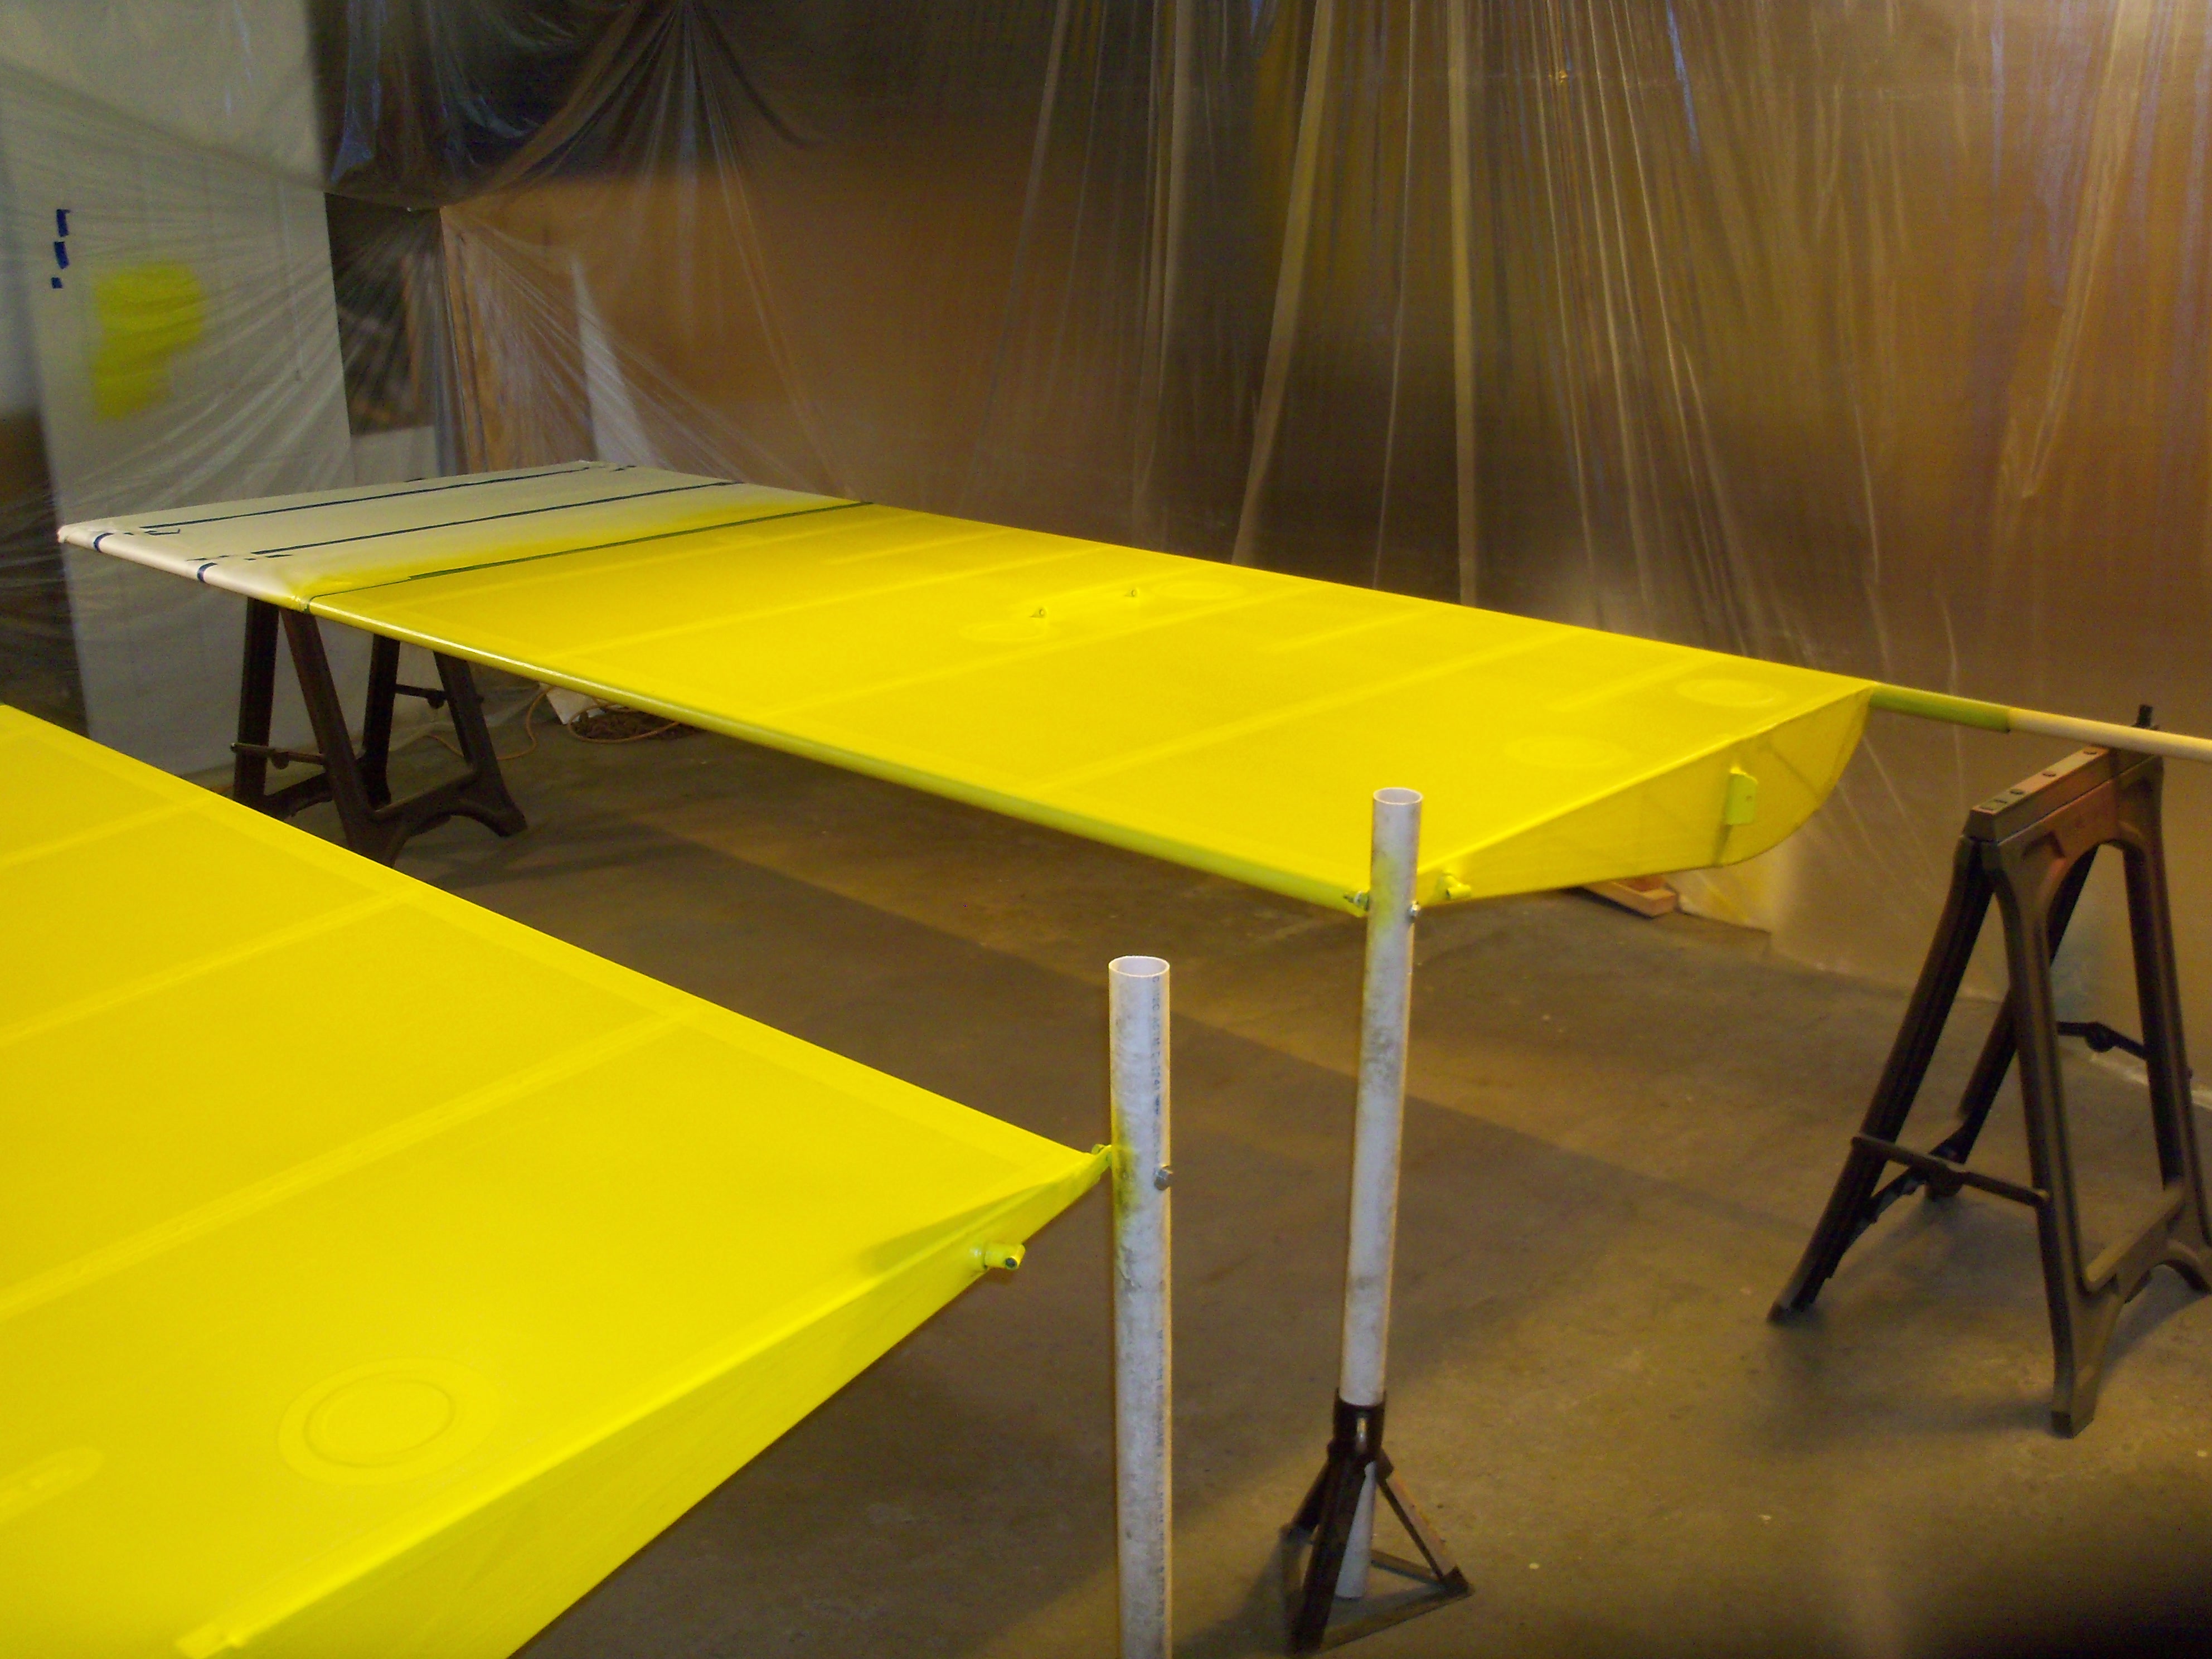
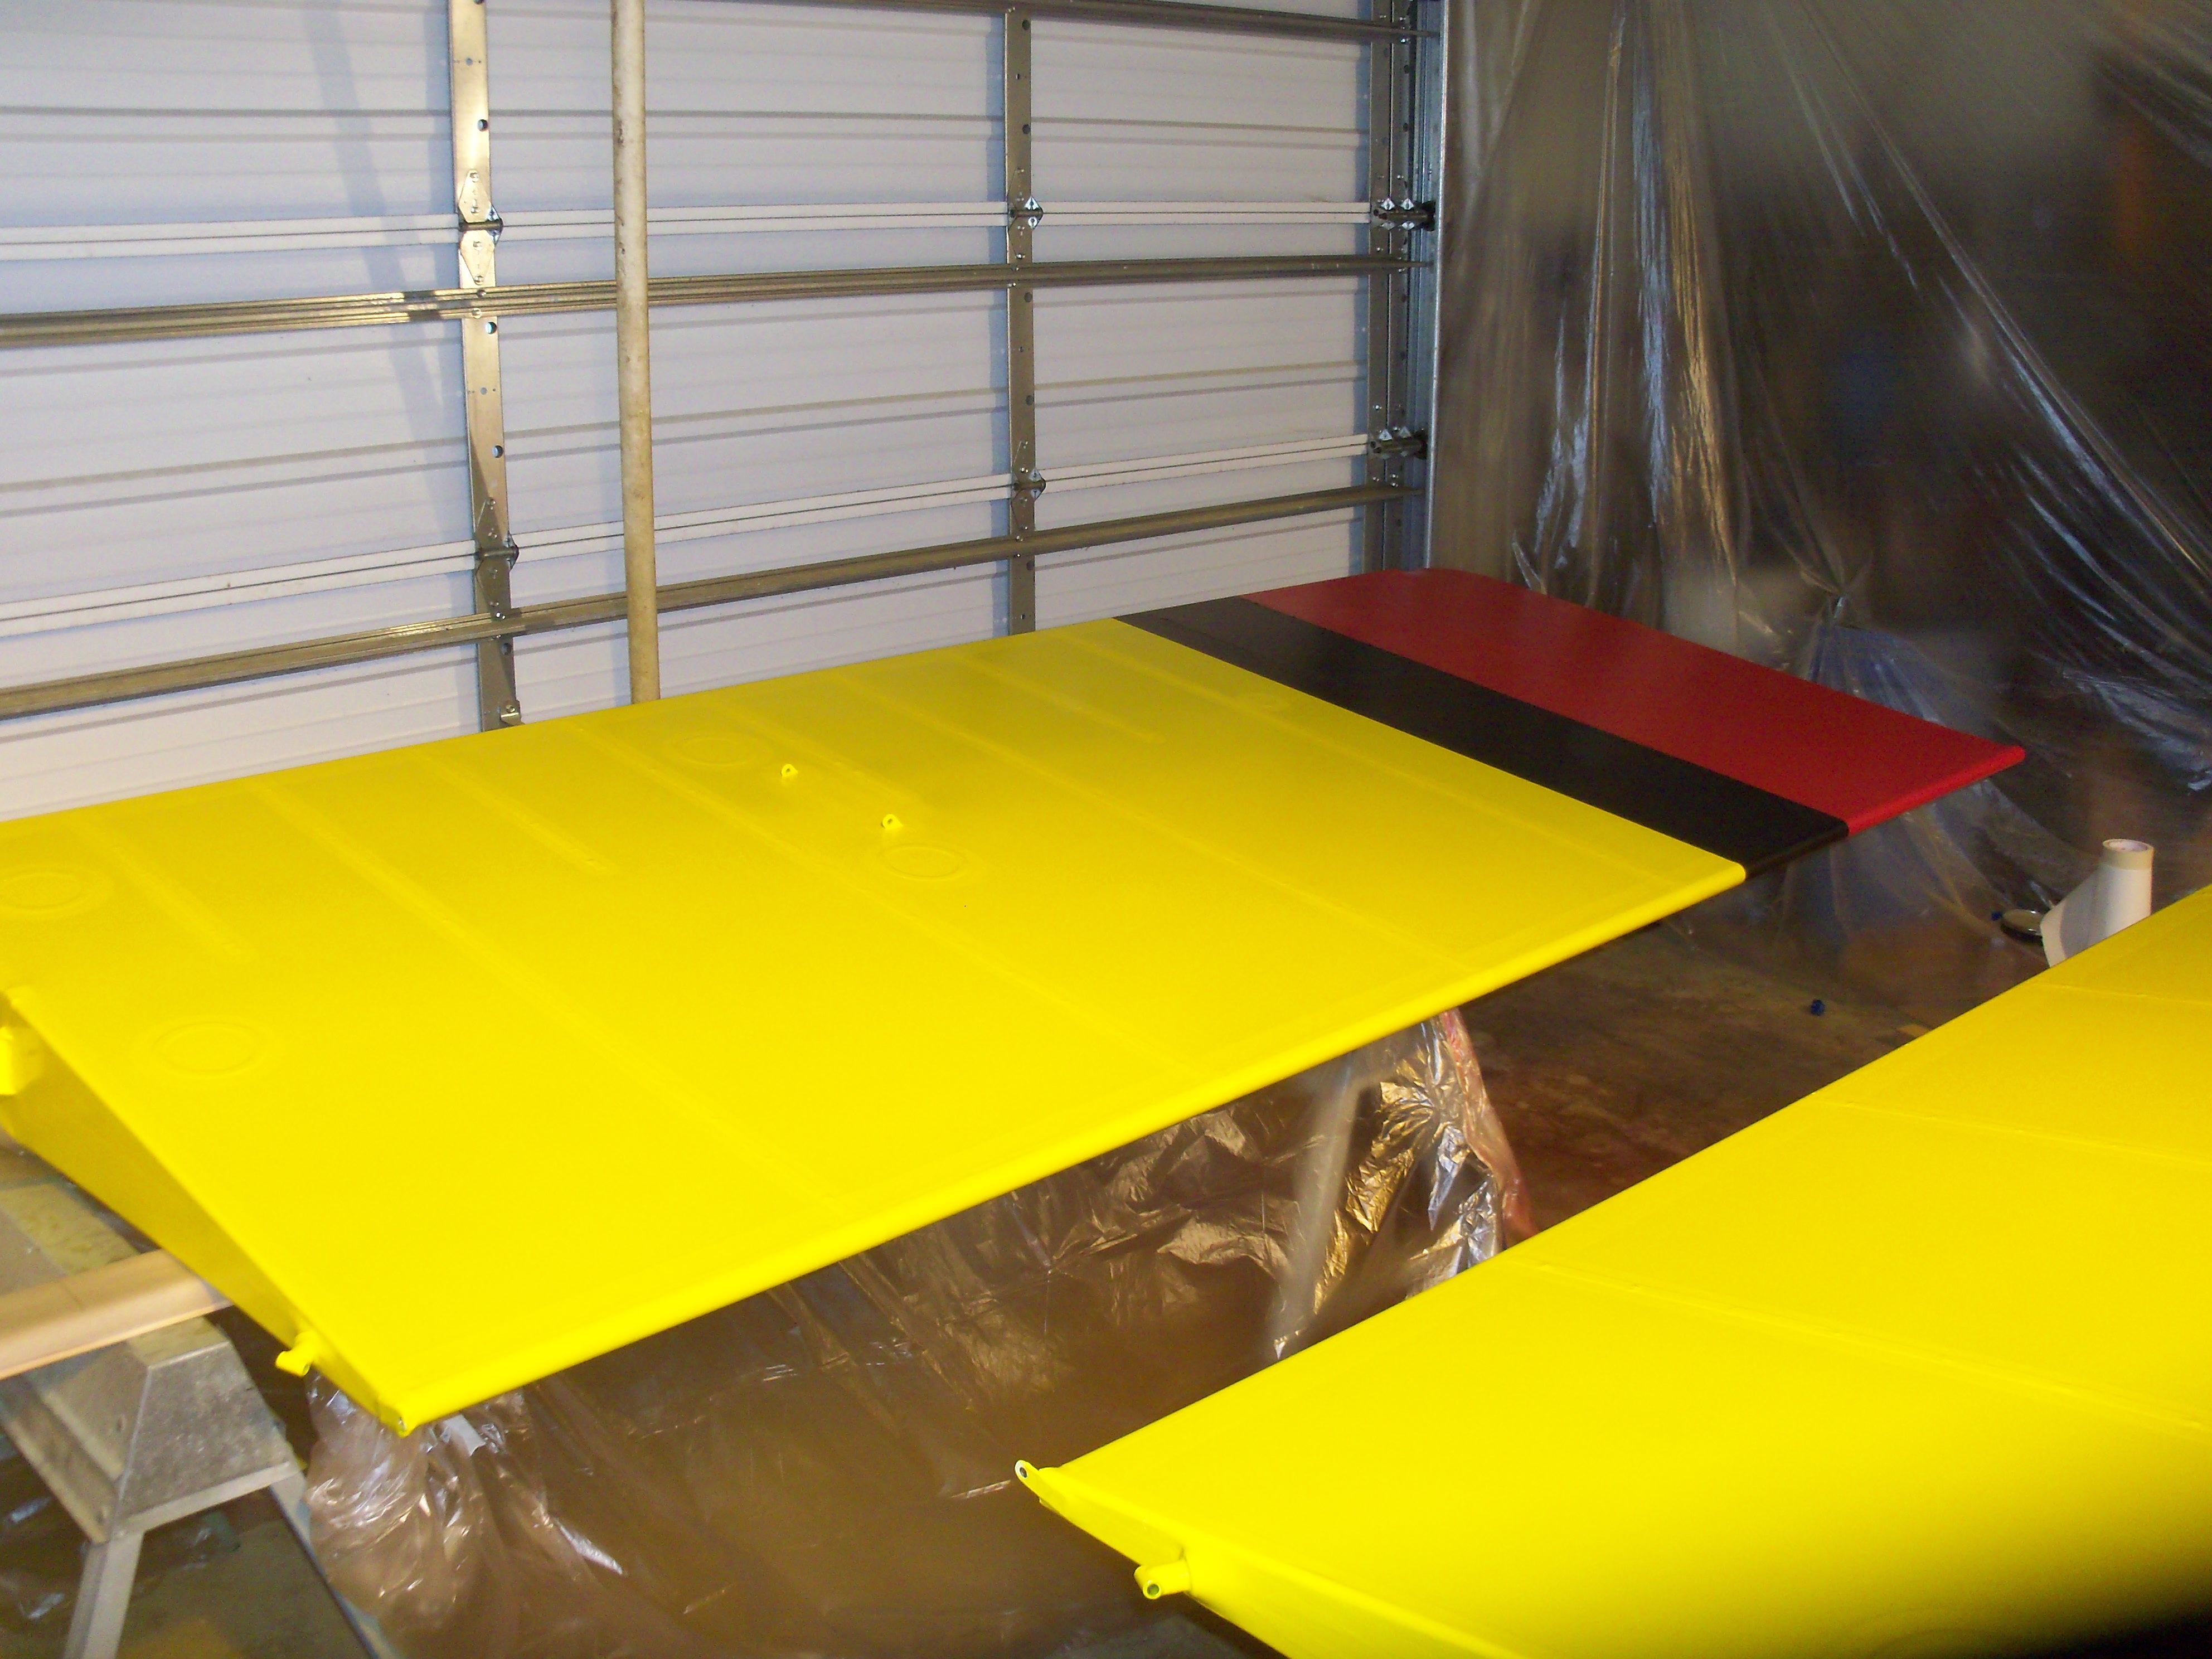
Homemade Paint Booth

Working with all the solvents, glue and Poly Brush in a heated shop during winter can be problematic. My furnace is an open flame model, which gave even more worries. I fixed up the output from my 2-HP dust collector to vent to the outside. For gluing and cleaning, I just used a respirator and propped the door open a couple of inches to let fresh air in. For Poly Brushing, I would heat the shop up extra warm and turn off the furnace.Then put on the respirator and brush like a mad man. When done, the fan was turned on and the door propped open while I went to the house for a cup of coffee. After an hour or so, the fumes would be low enough to relight the furnace. Not pretty, but it worked.


 image

Back Side of Booth

I did not want to spray paint in the shop. There's too much stuff to cover up and the vent system probably wasn't up to the task. (Un)fortunately, projects always take longer than planned and by the time I was ready to start spraying it was warm enough to move to the garage. Not much out there to worry about over spray, but still, I built a booth with some plastic hung from the garage door rails with clothespins. Opening the people door and using a 20" box fan allowed for pretty good ventilation and kept the dust to a minimum.

Here, the garage door was up a little (before I started using the box fan), and it caused the plastic to blow, so weights were used to keep the plastic in place.

All in all, a pretty effective paint booth for not much money.

 image


Spraying Poly Brush

My sprayer is a Wagner Fine Coat. It has painted airplanes, barns, and stained and varnished woodwork.

I kind of merged the recommendations from Poly Fiber and Kolb. I skipped the Poly Spray (silver) trying to save weight and money. I did spray Poly Brush as I did not like the surface after only brushing on the one coat. Spraying Poly Brush let me practice with the gun and get a nicer finish with minimal weight added.

 image


First Paint Color Sprayed On

Here's the first color coat. Boy, yellow does not cover very well. I wound up putting 3 coats of yellow on the tail surfaces to see how much better it would look. I decided it wasn't worth it unless I was willing to put about 6 coats on. All colors had UV Blocker added, for what little it will help. Serenity will always be in a dark hangar except when flying, so I decided to "risk it."

 image


Red Tail Parts

The red covered much better with two light coats.

Boy, all the flaws in the fabric show up when the paint dries!

Oh well, live and learn. Maybe the next one will be better.

 image


Rudder Close Up

A closer look shows some of the flaws.

Good thing I built it to fly, not to look at.

 image

Spraying The Wings

Spraying on a coat of Poly Brush is pretty easy.

Spray, let dry, flip and repeat.

The spray coat really smoothes out the brush marks and gives a good even base for the colors.

It is at this point you would apply several coats of Poly Spray (silver coat)

In the interest of cost and weight savings, I went directly to the Poly Tone color coats.

 image

Base Color on Wings

It took some thinking to figure out how to hold the wings so I could apply the color on both sides in one paint session. That is just a closet rod dowel sticking in the leading edge tube and some PVC pipe bolted in the bottom half of some jack stands with a bolt through the aileron hinge point.

The wing tip is masked off and resting on a saw horse. After painting one side of each wing, my wife would grab the wing tip and I would take the root end. Flipping it leading edge over the trailing edge let the jack stand swivel and swing to the other side.

One coat in the morning, let dry all day and second coat in the evening. This is pushing the drying process a little, but the weather was right, and it sure saves a lot of time.

 image


Wings Finished

The red and black trim paints were applied just like the yellow. The yellow was masked off and the saw horses were moved in far enough to not touch the wing tip.

Again, two coats per day.

4 days total in the booth and the wings were done.

 image

Nose Cone Painted

The nose cone was the most difficult part to paint.

I wanted the color to match and did not want to switch types of paint so that the gloss would be the same. Following the Poly Fiber manual, after cleaning and prepping the nose cone, I sprayed two really thin coats of Epoxy primer, then when it started to get really tacky, I put on a couple of really light coats of Poly Tone.

Runs! Sanding! Runs! Sanding!

Boy, I didn't think I would ever get it to come out right, but eventually it did.

 image


Wing Struts Primed

The plan was to just prime the struts white so they would match the tail boom and fuselage.

Later, I found some rattle cans of paint that very closely matched and got a little silly spraying the struts.

I do like the way they turned out though.


 image


Wing Struts Painted

Not a perfect match on the red, but close enough.

Besides, if desired, it would be easy to paint over with a matching color.


Serenity Home HarnerFarm.net