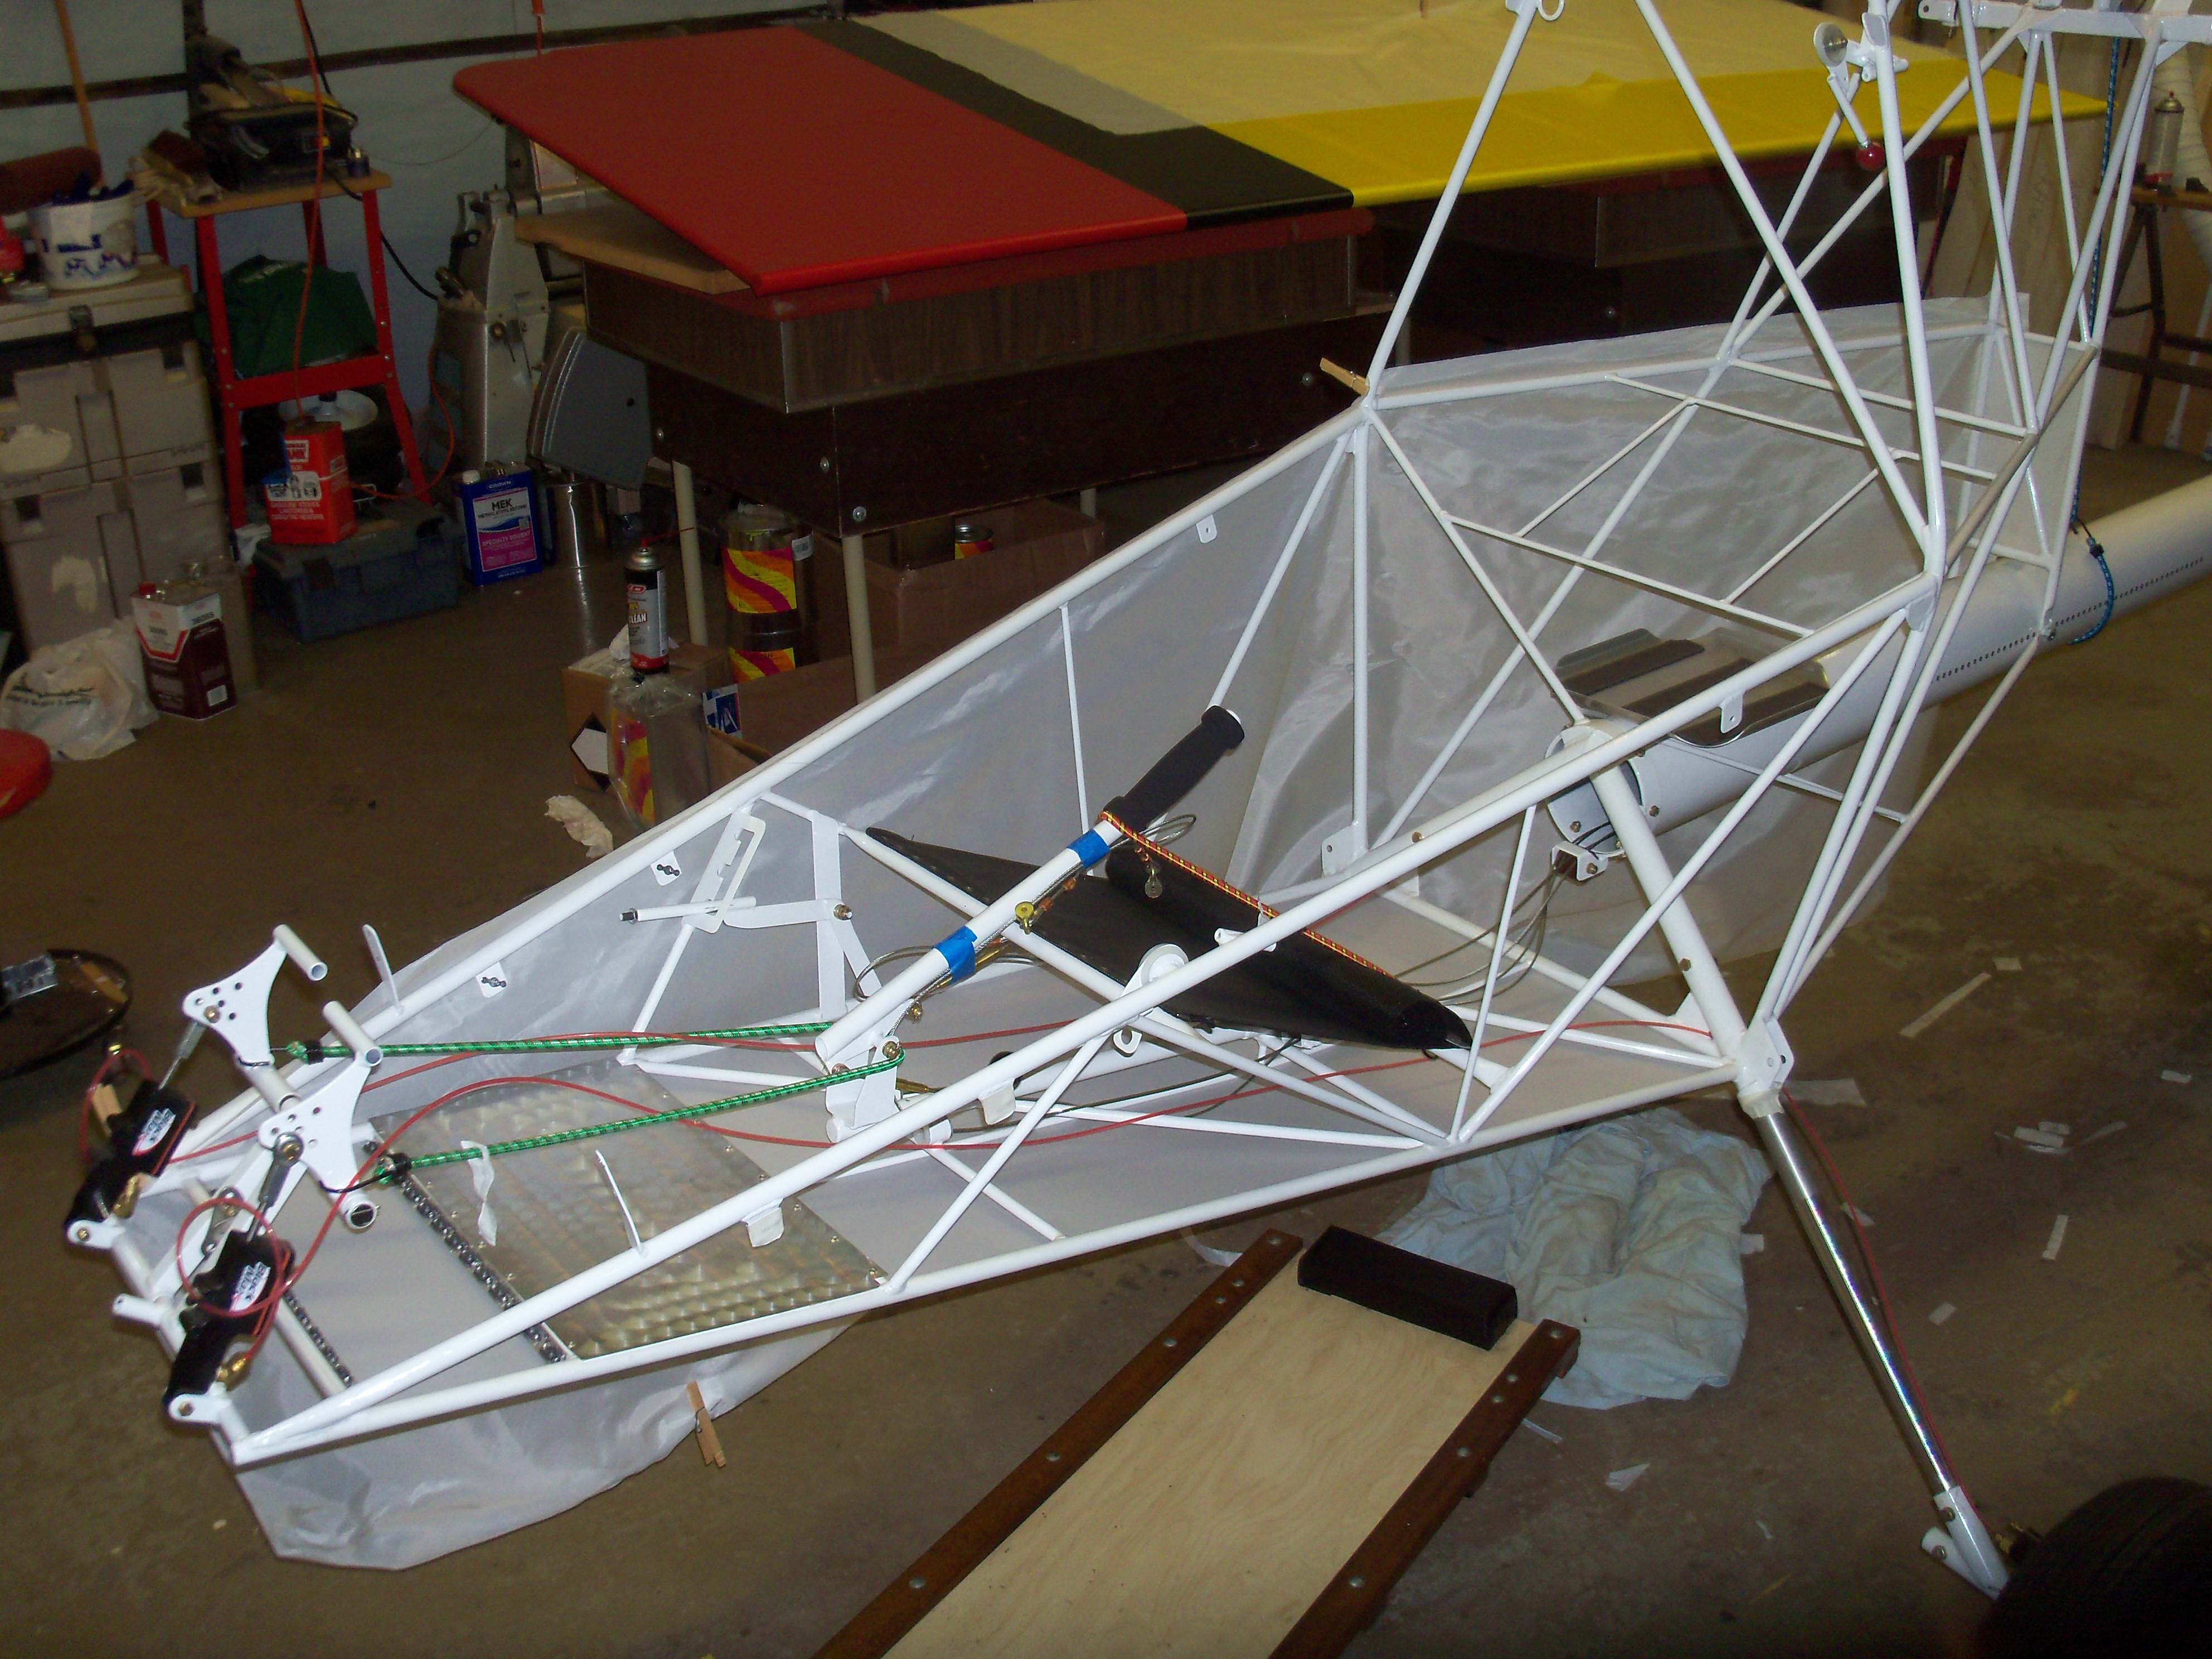
Click on any of the photos below to see the full size image.

Warning, they are fairly large to download. Use your browser's back button to return here.


 image

Ready To Cover

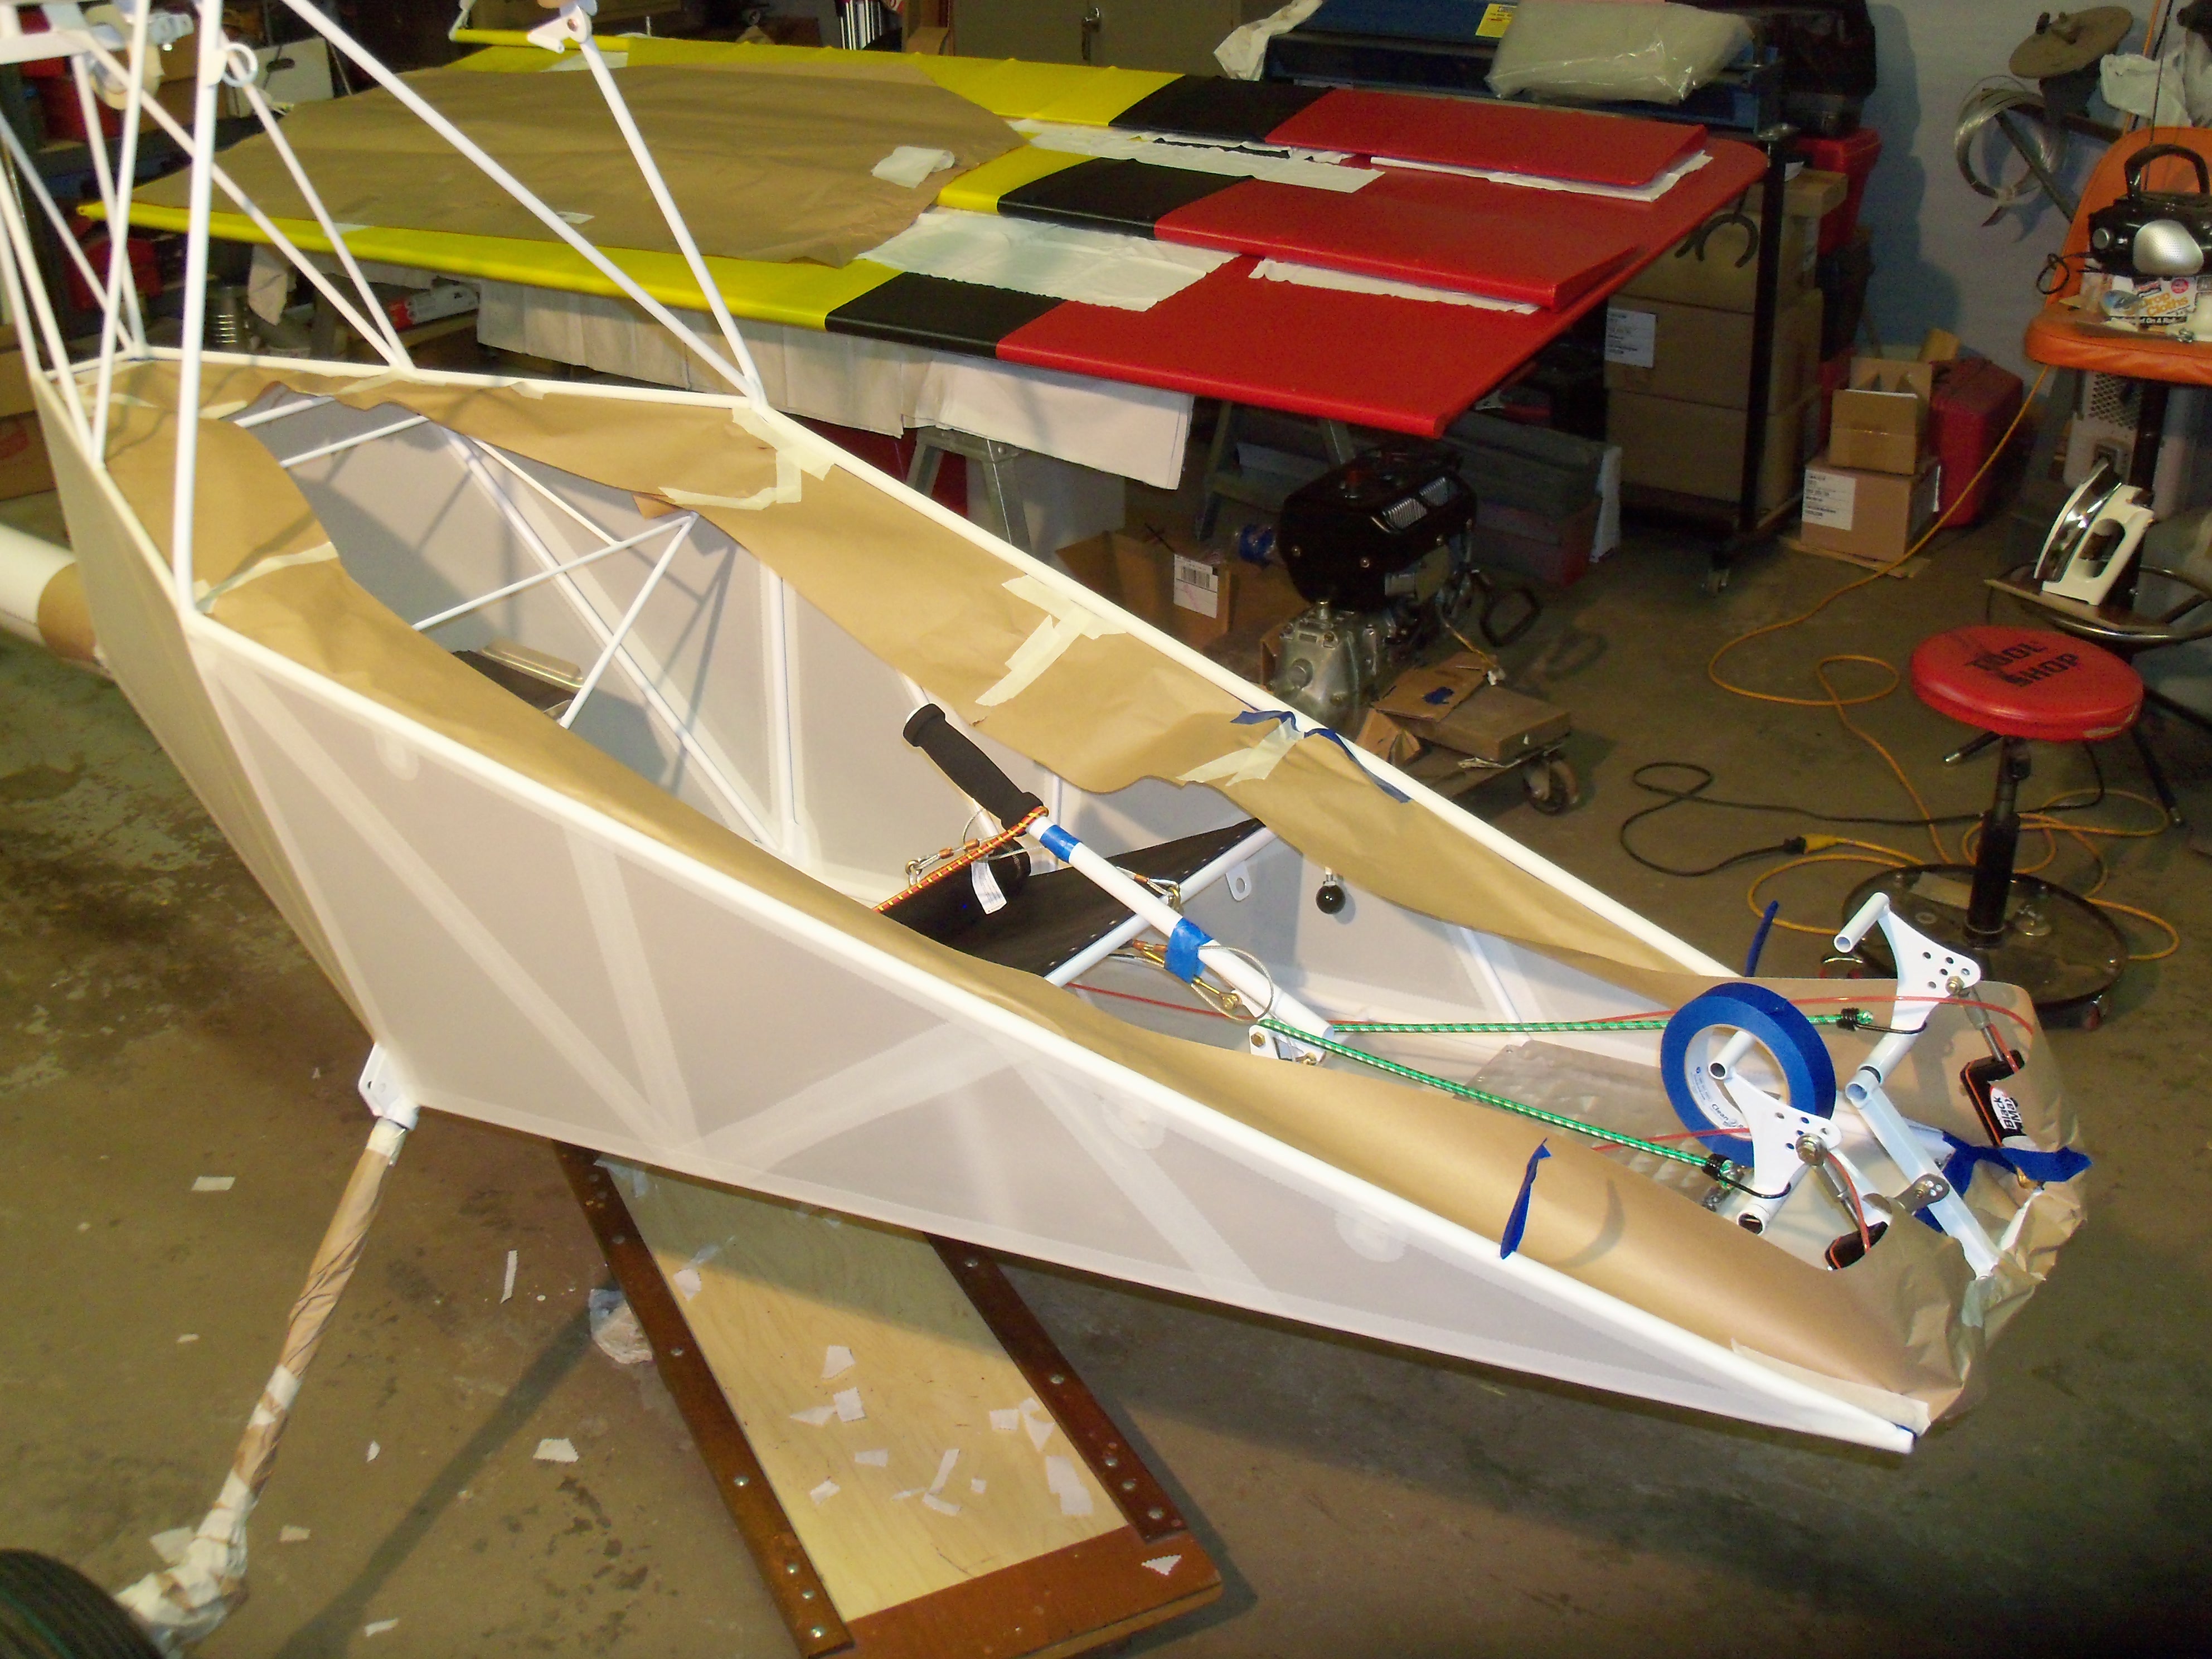
This probably could have been done by laying on my back and working overhead.

It was easier to just get everything taped or tied out of the way. I did have to find plugs to replace the vents for the brake master cylinders. Not a big deal.

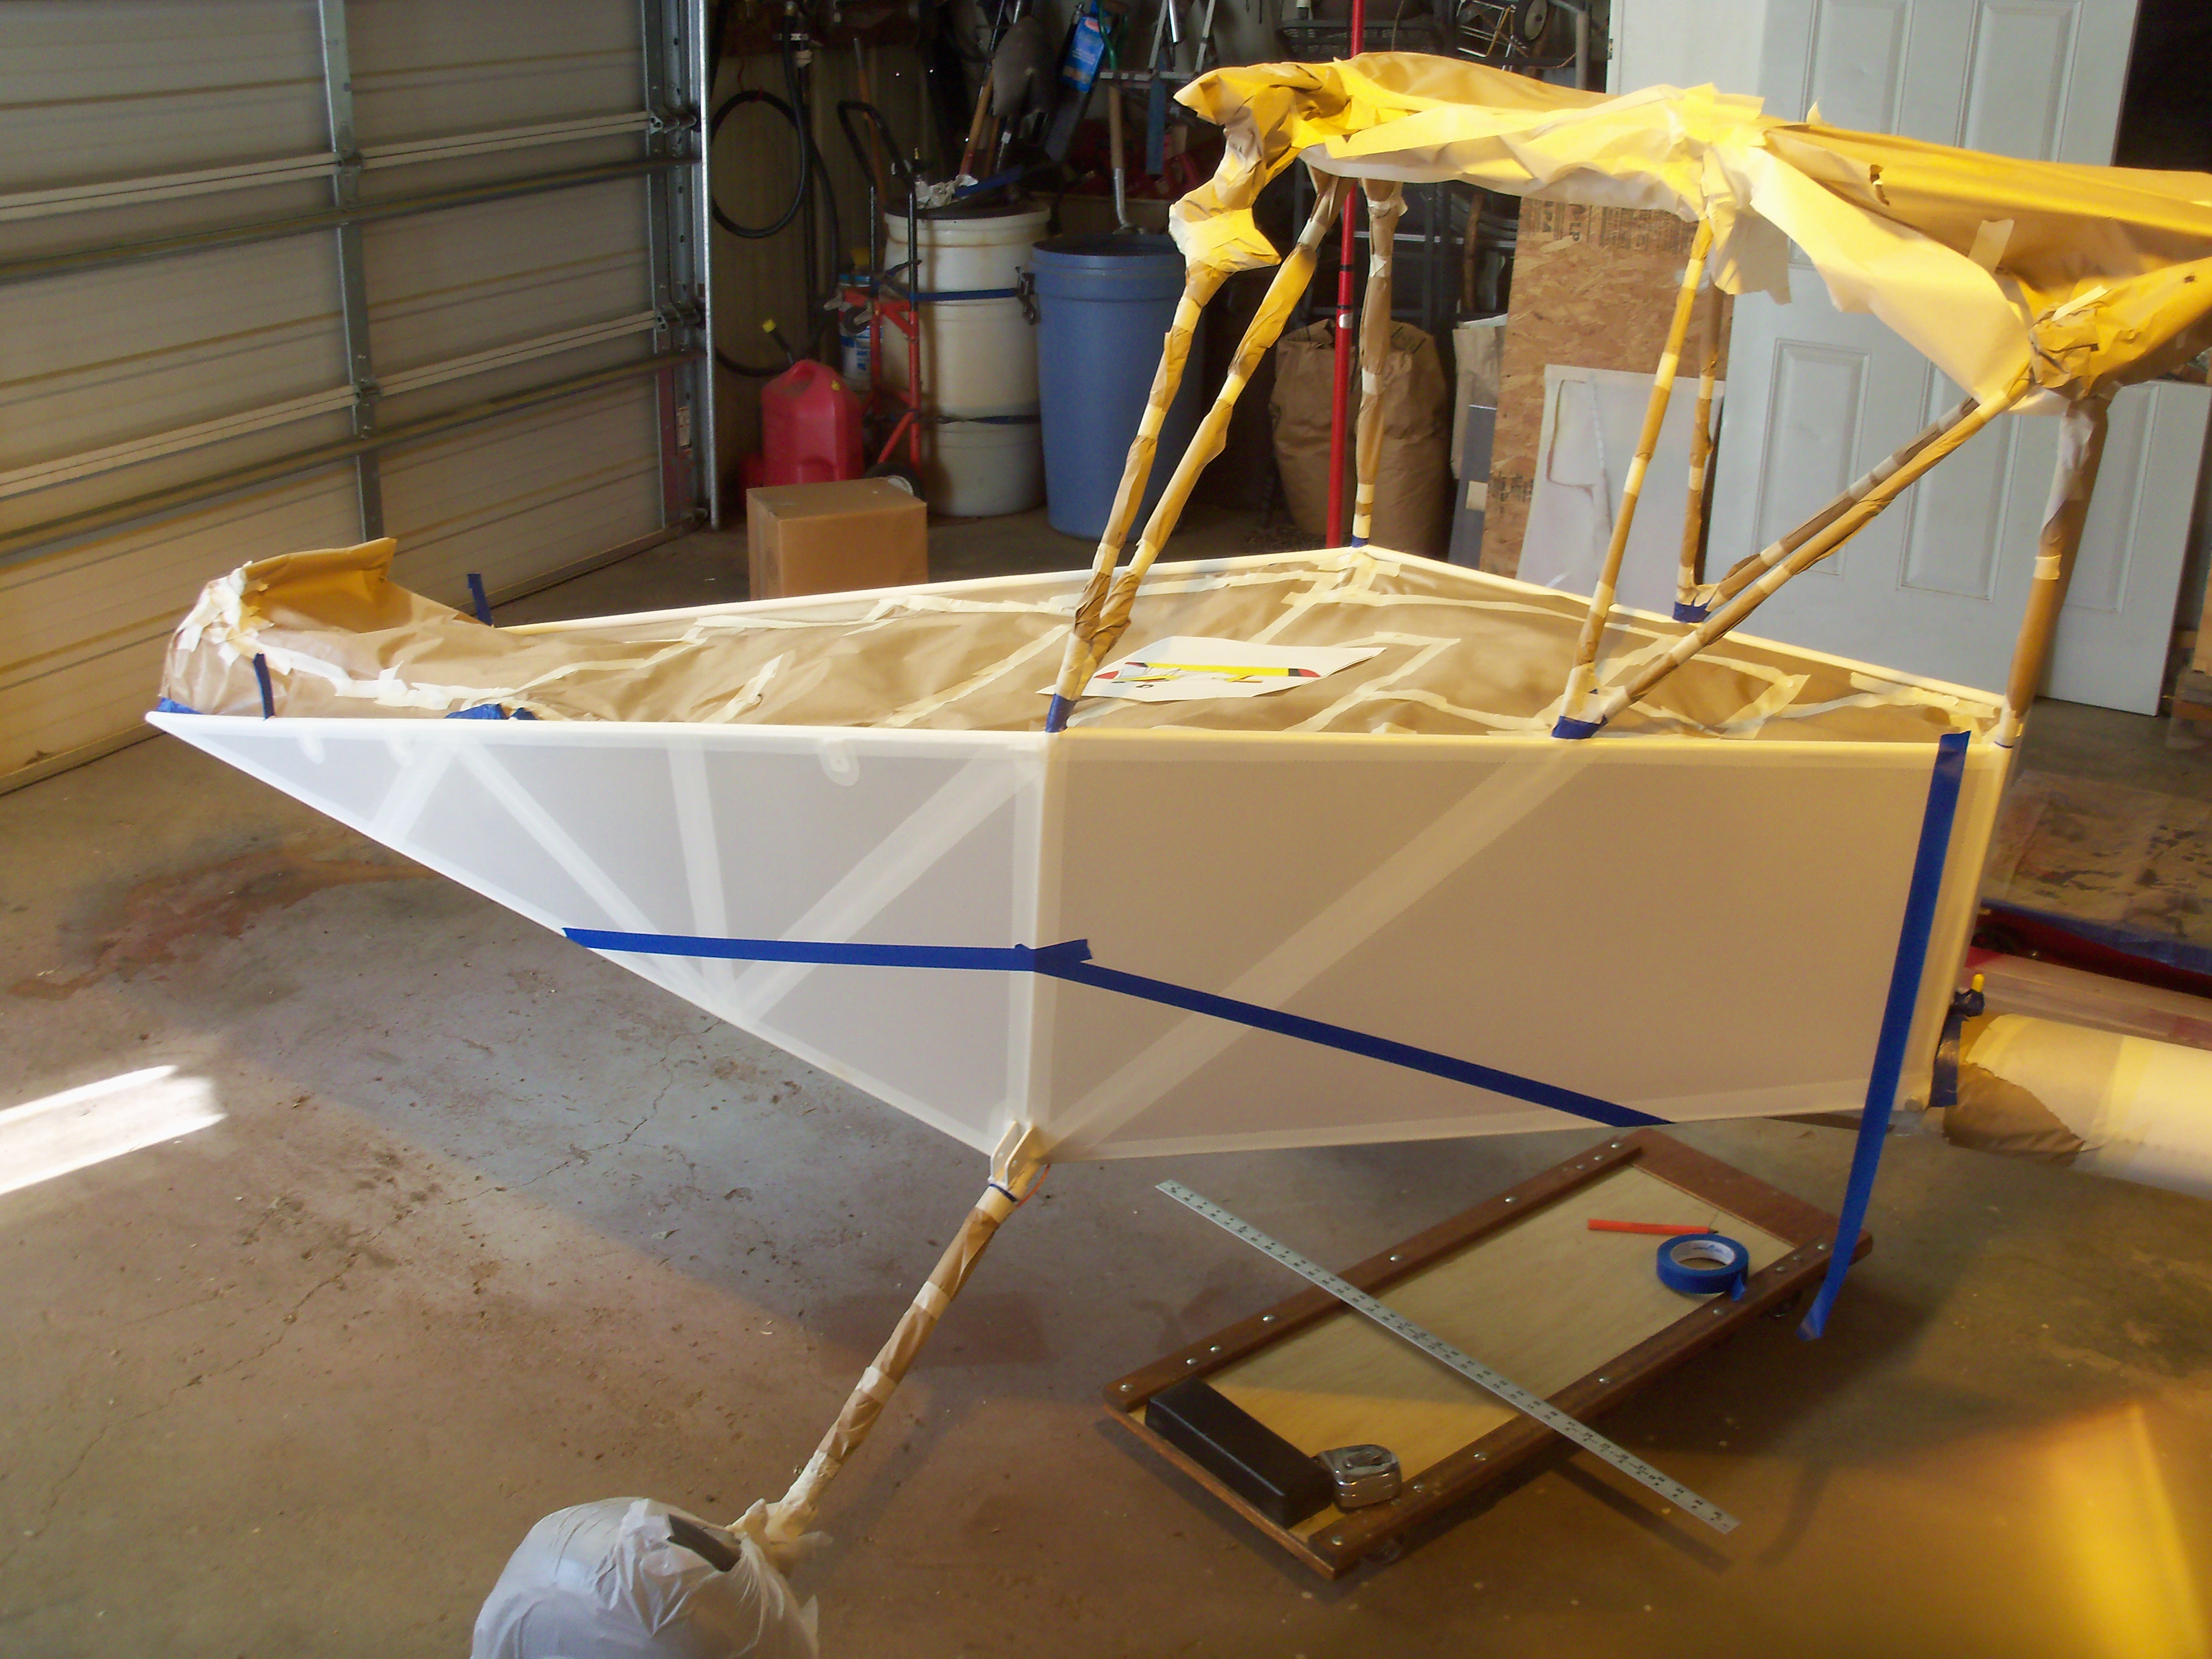
My wife would come out to the shop and help me flip it over. The bare fuselage weighs next to nothing.

 image

Bottom First

The bottom was glued on first, then ironed out just enough to take the wrinkles out and smooth down the glue bumps.

Then the sides were put on starting at the top and gluing the sides of the bottom only.

Then the fuselage was flipped back upside down and the side fabric was wrapped and overlapped onto the bottom fabric.

Once the glue was well dried, everything was shrunk to 350°

 image

Right Side Up Again

One more flip and everything was ironed out smooth.

My wife lent me a craft iron which is basically an electric soldering iron with lots of interchangeable heads of different shapes.

This was needed to get into the nooks and crannies of the tubing to smooth everything down.

 image

Tapes and Patches

Same drill here as all other surfaces.

It was at this point I got to thinking about painting the fuselage. I did not want to set up the paint booth again, and I really did not want to mask off the whole fuselage for just that little bit of paint.

I decided to try rolling instead of spraying. I started with the belly while it was upside down. This was a total disaster! What a mess. I was only able to partially fix it with parchment paper and an iron.

Fortunately it was only on the bottom. If you have to lay on your back to see it, it didn't happen!

 image

Masking

Ok, so I had to mask it all off, and yes it was a pain in the rear

 image

Ready For Spraying

All masked off and back out in the garage. I skipped the booth and just started spraying.

It went quite well and by spraying Poly Brush I was able to determine that it could all be done while upside down.

 image

Colors

However, it was easier to layout the masking for colors while it was right side up.

Even though at this point I had plenty of paint, I did not want to put on any more than needed, so each color was applied separately with no painting one color over another.

This is the same technique that was used on the wings.

 image

Finished

All three colors applied and masking removed.

My paint scheme was chosen because I always liked these colors together.

The main goals were visibility and simplicity.


Serenity Home HarnerFarm.net