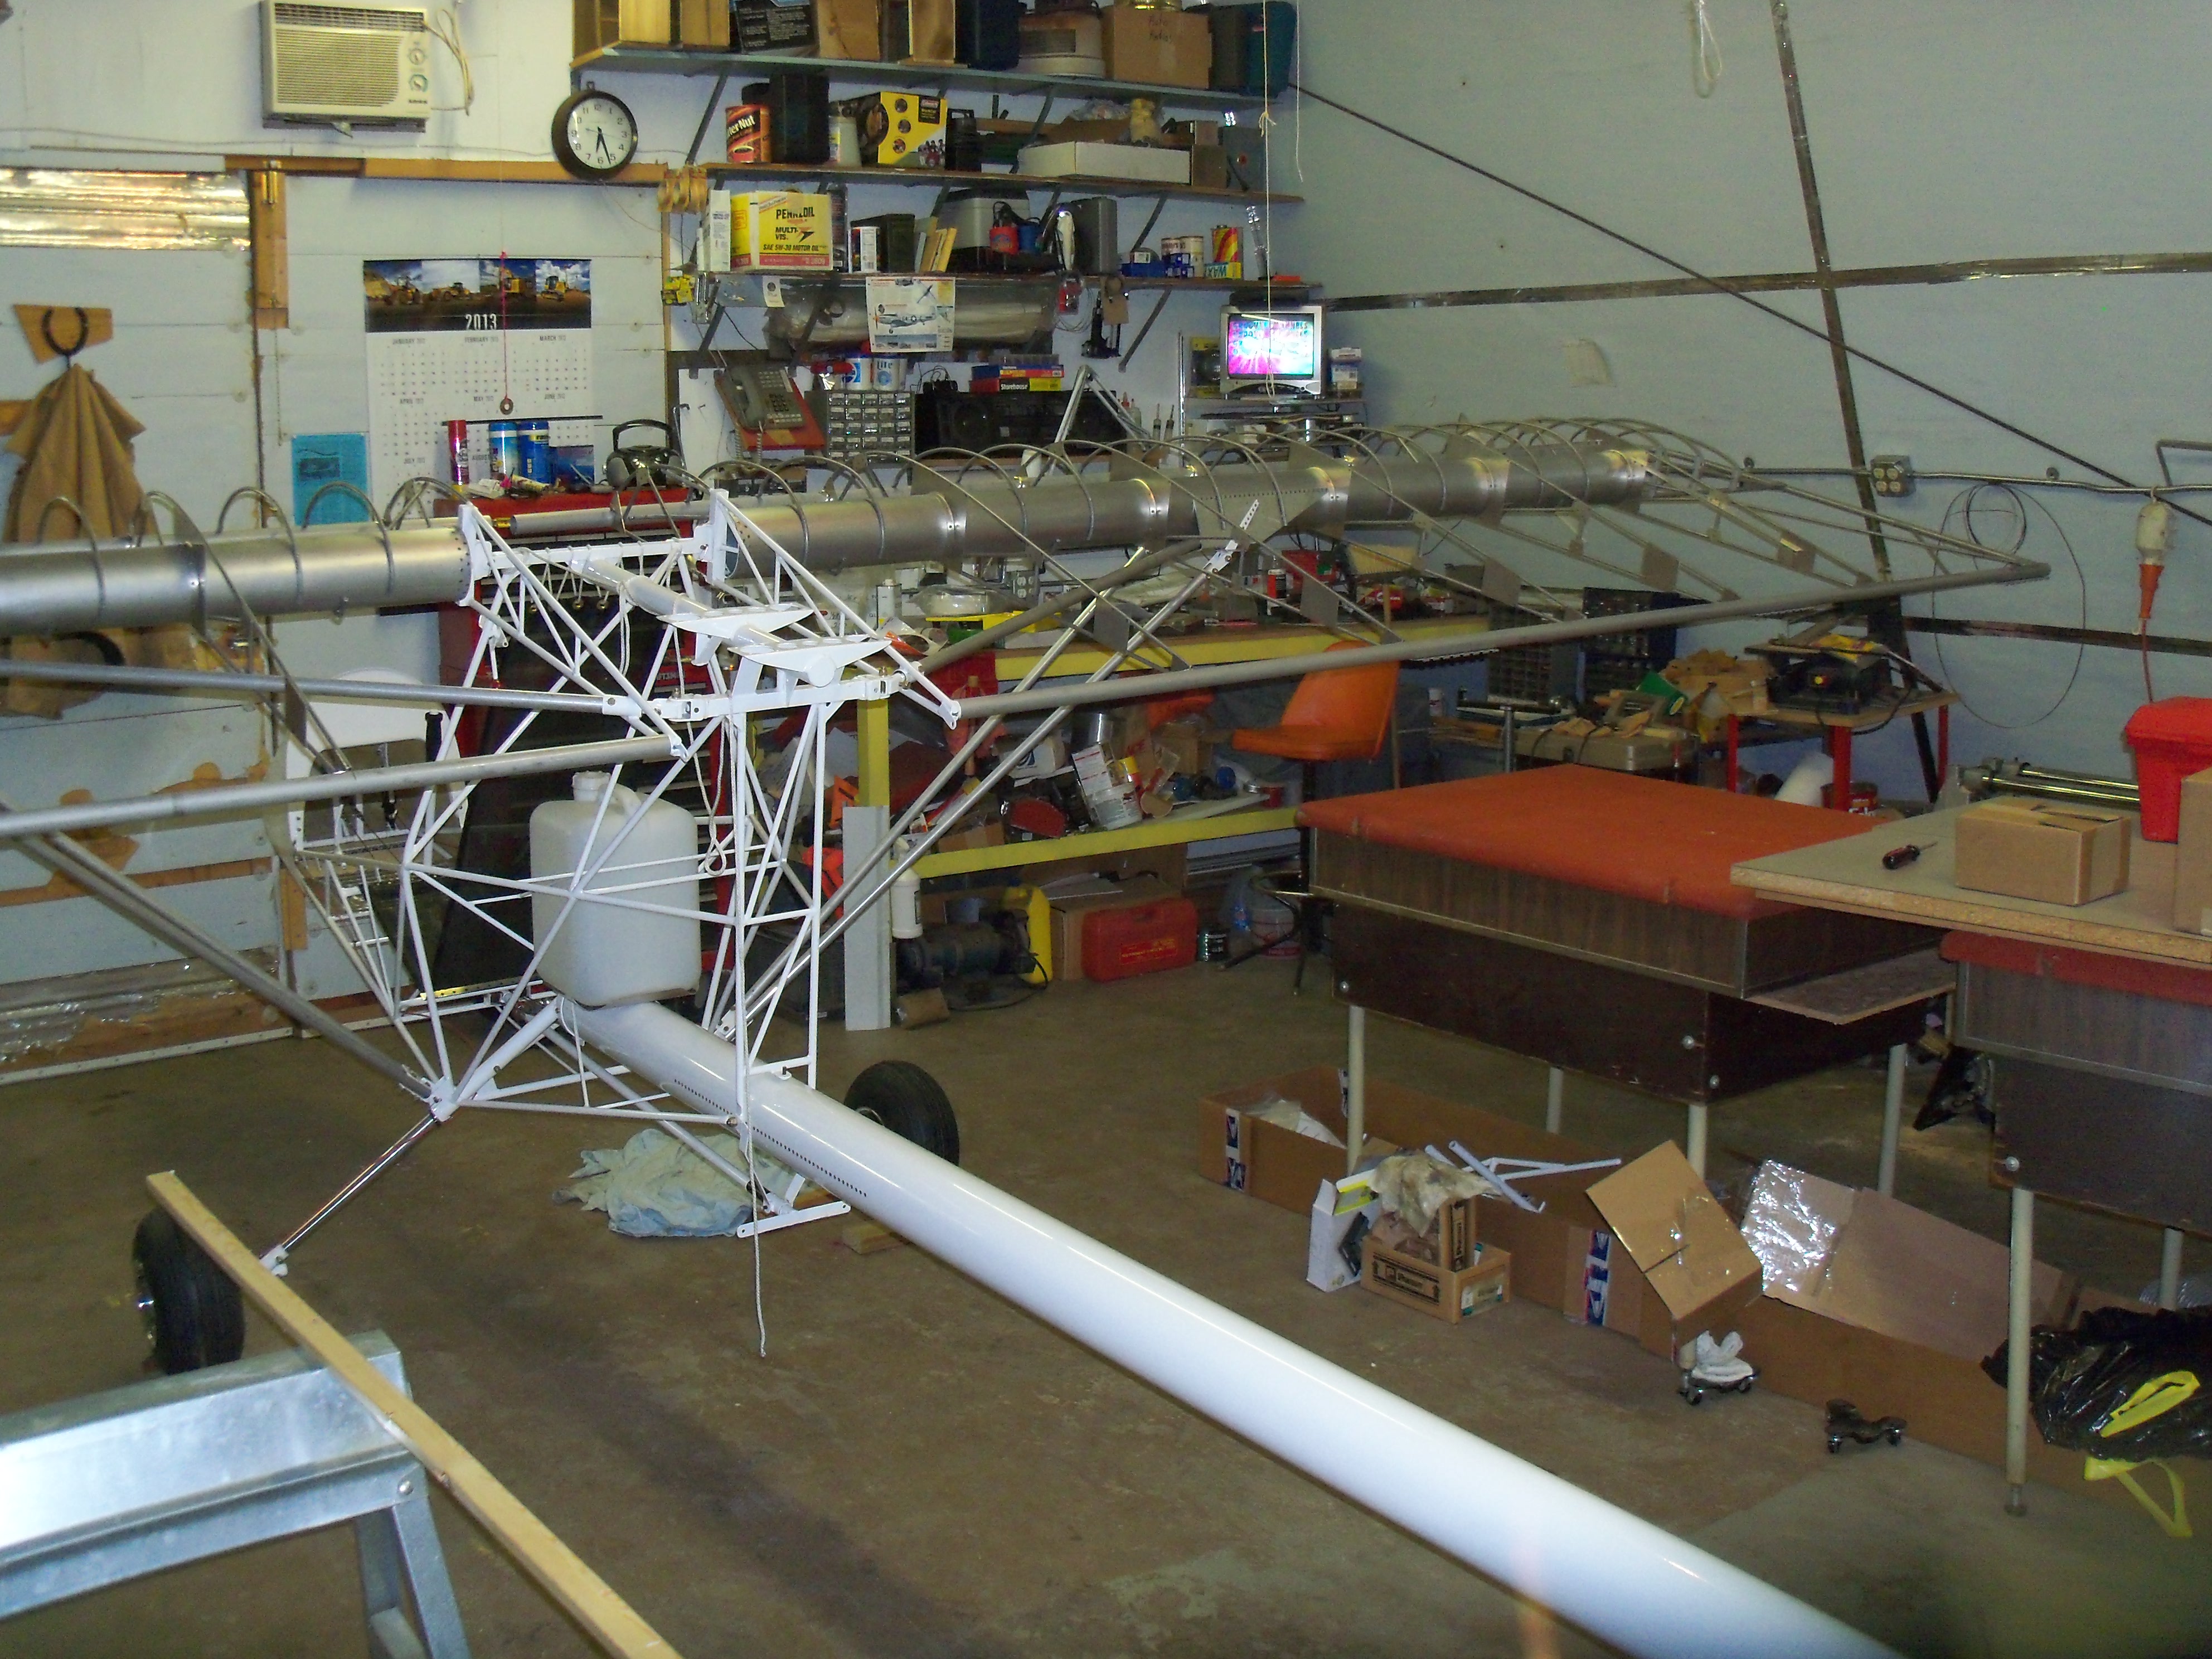
Click on any of the photos below to see the full size image.

Warning, they are fairly large to download. Use your browser's back button to return here.


 image


Wings On!

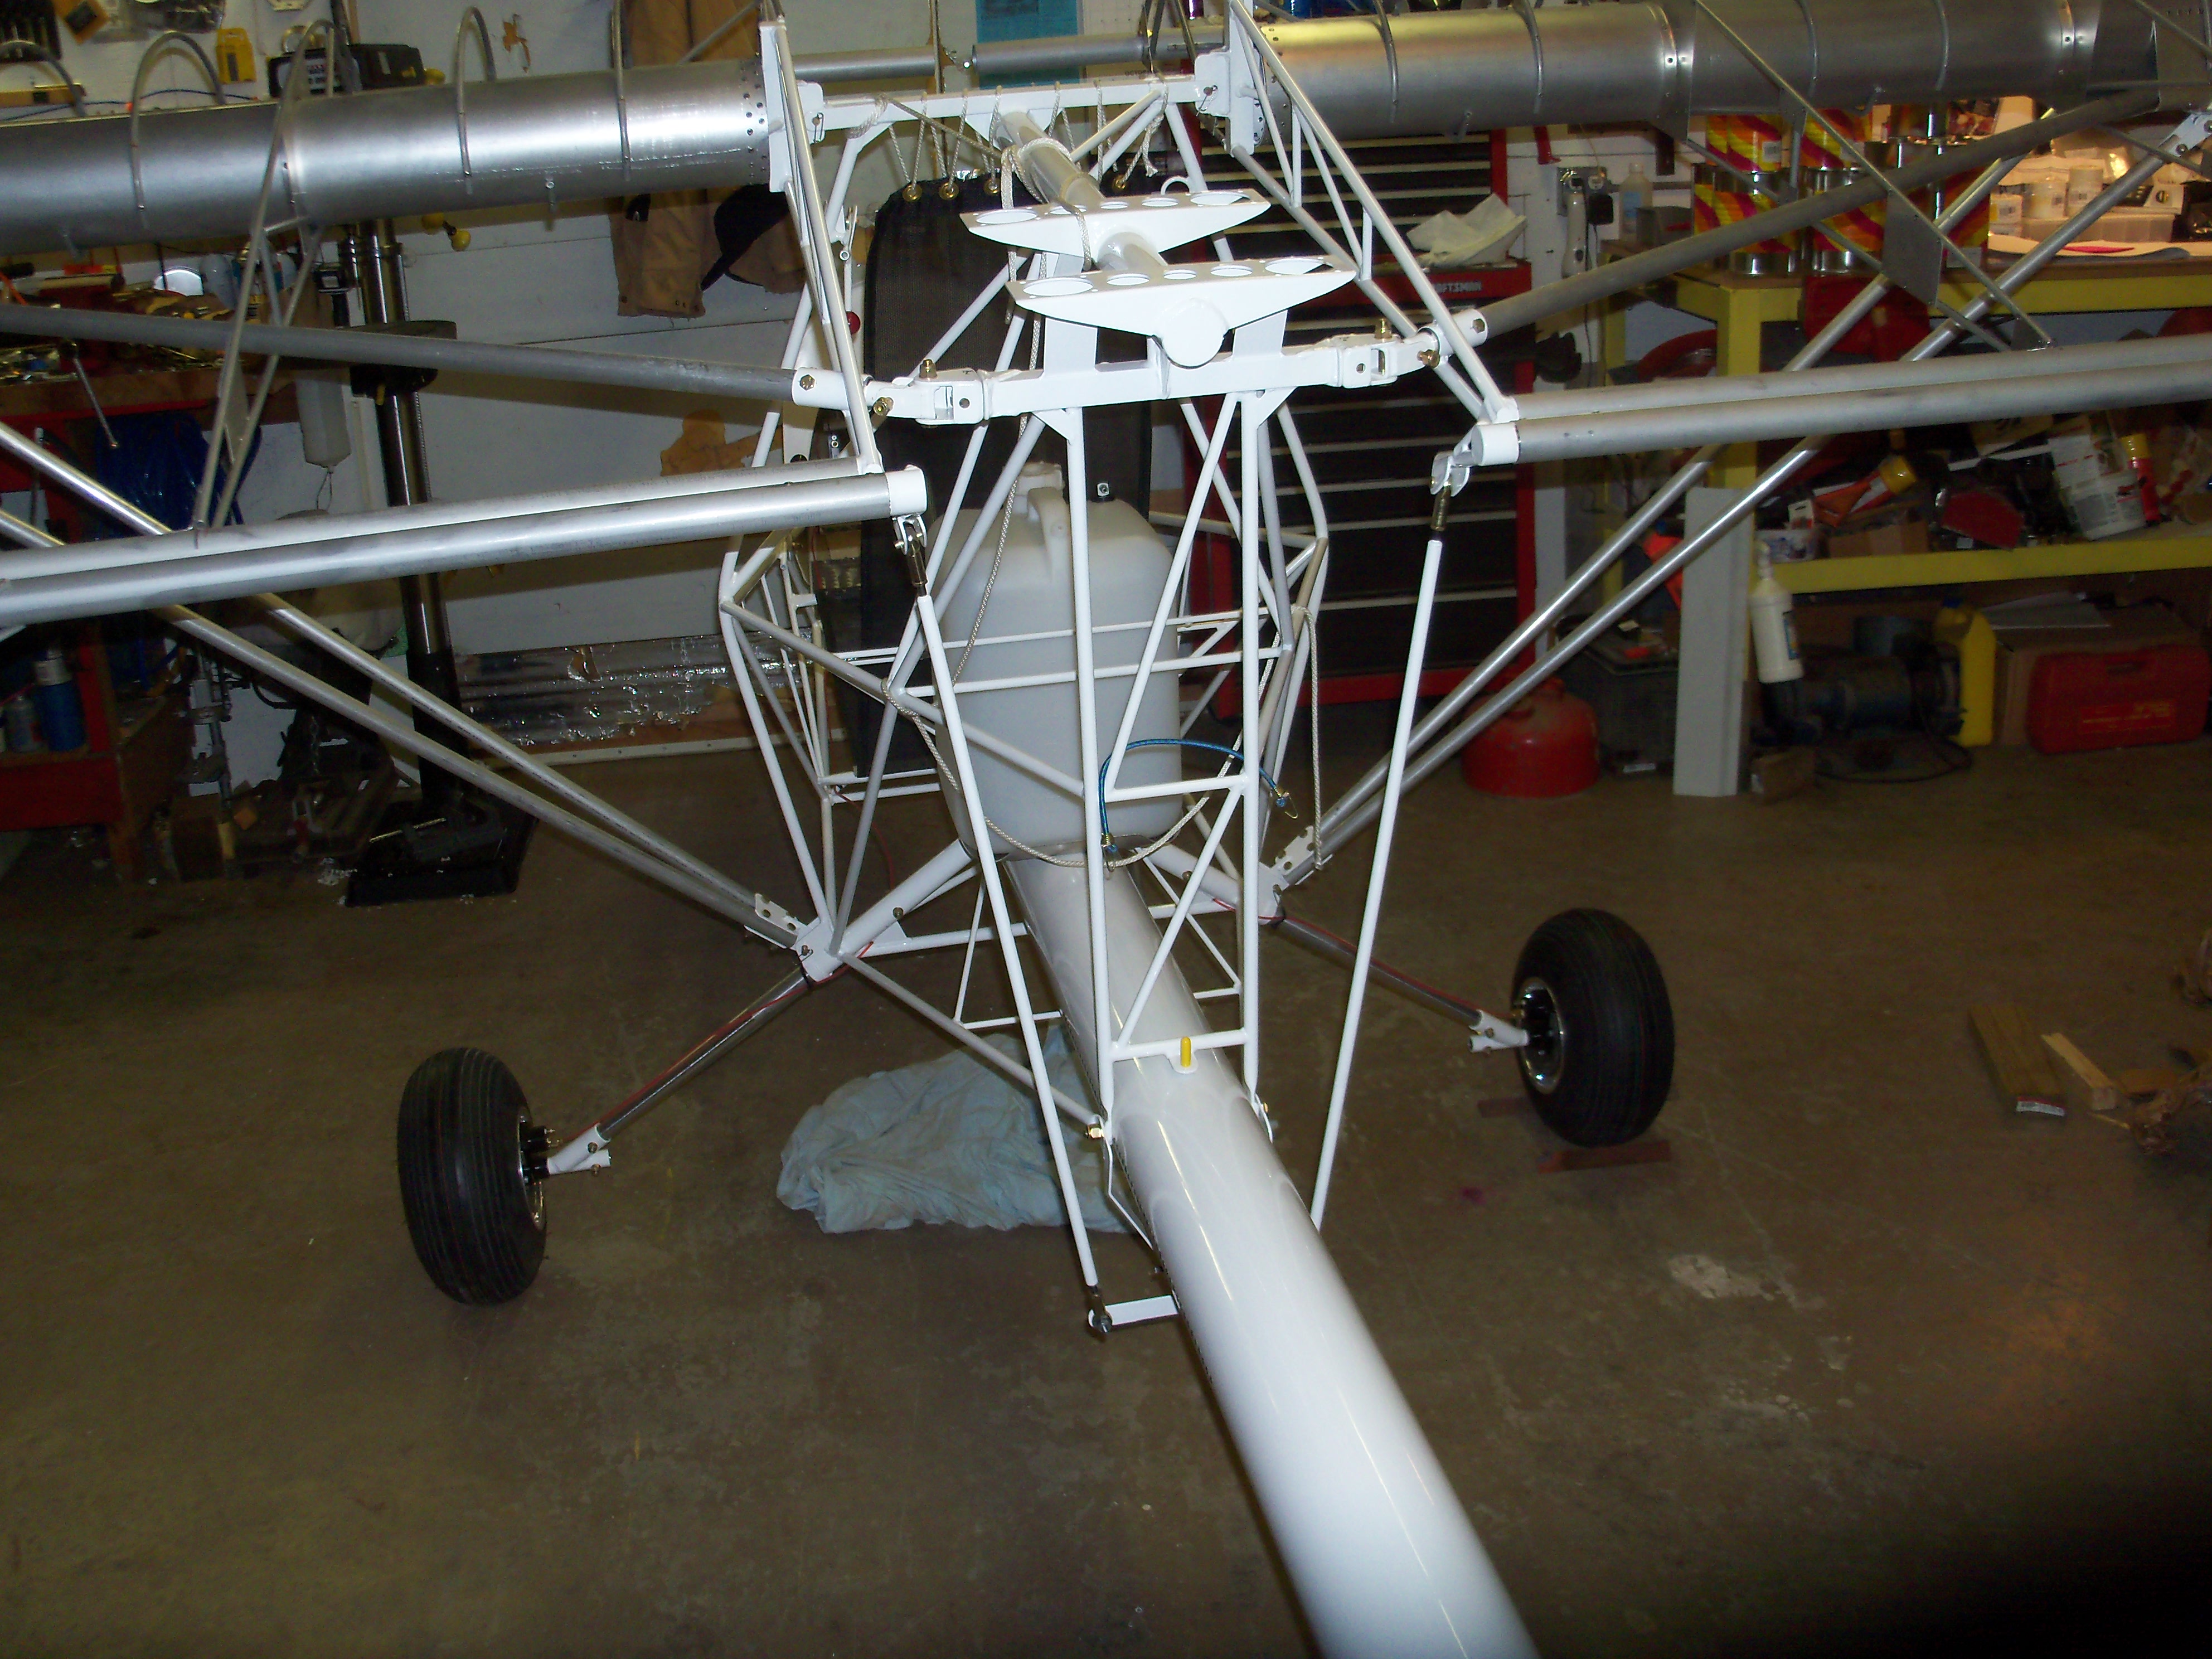
At this point the wings needed to be installed so that the aileron push tubes could be rigged.

The shop is 30' wide at the floor, but the sloping walls quickly narrow it down. Fortunately the Firefly fits with a little room to spare. However, there is so much other "stuff" in my shop, there was no room to fold the wings. That would have to wait until it was assembled outside.

 image


Full Shop

Tight fit, but workable.

 image

Aileron Alignment

The bellcranks that go in the end of the ailerons were powder coated, but not installed. It is up to the builder to attach everything and get it properly aligned before riveting the bellcranks to the tubes.

You can still do a fair amount of adjustment of the push tubes if it is needed after flight testing.

Since the wings of the quick build kit are aligned at the factory, I found no need to adjust the ailerons after the first flight.

Thanks Bryan!

 image


First sit down

The Firefly that the factory had at Oshkosh did not have any wings. This is the first opportunity I had to sit in a Firefly with the wings and nose cone installed.

Pretty cool feeling, a real moral booster in the middle of winter!

 image


FAA Inspection

Fat Animal Assistant

My little beagle buddy, Keiko approves.

Well, actually she was asking "When are you going to play with me"?"


 image


Marking Parts

OK, before taking things apart for covering, I spent a lot of time marking everything that would be removed. A camera was also used to document how it was supposed to be. There are dozens of pictures just in case there were questions about how the puzzle pieces fit together later on.

 image

More Markings and Notes

Note the black stripes at the rivets. These were marks made by the factory, and they had to all come off for covering. If not removed, they WILL bleed through. The white and blue marks are from a paint pen.

Other things not shown here are the codes and alignment arrows on all the hinges. I came up with 2 or 3 digit codes that meant something to me and marked forward facing arrows on all hinges. After removing the hinges, these marks were stamped into the metal.

The intent was to clean up all the hinges and give them an alodine treatment before painting. Little did I know that they were aircraft grade and already had a clear alodine coating. The stamped marks were still visible after painting, which made re-assembly a lot easier.

 image


Disassembled

Here is the pile of parts that will have to be covered in fabric.

Serenity Home HarnerFarm.net